As we wrapped up the first year of homeschooling, I found myself increasingly concerned about the possibility of summer learning ... read more
March 19, 2026


I don’t know about you, but when I’m traveling with my passport, I’m constantly worried I’ll lose it. It’s such a thin, little book that I never quite know where to put it. I needed something to make it more substantial and easier to spot, and protect it at the same time. My solution: a DIY No-Sew Passport Cover.
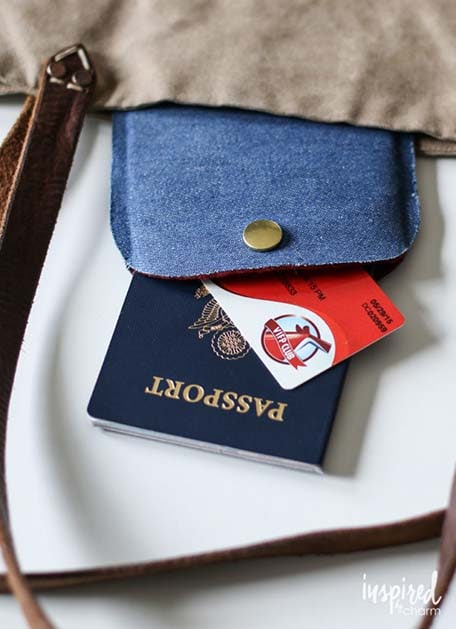
This cover is simple to make, and it looks chic.
Now I can’t wait to take it with me when my mom and I go on our next Carnival Cruise. We have one scheduled for 2017, and we couldn’t be more excited. I booked us on the new Carnival Vista. (Have you seen the new ship? It looks amazing!)
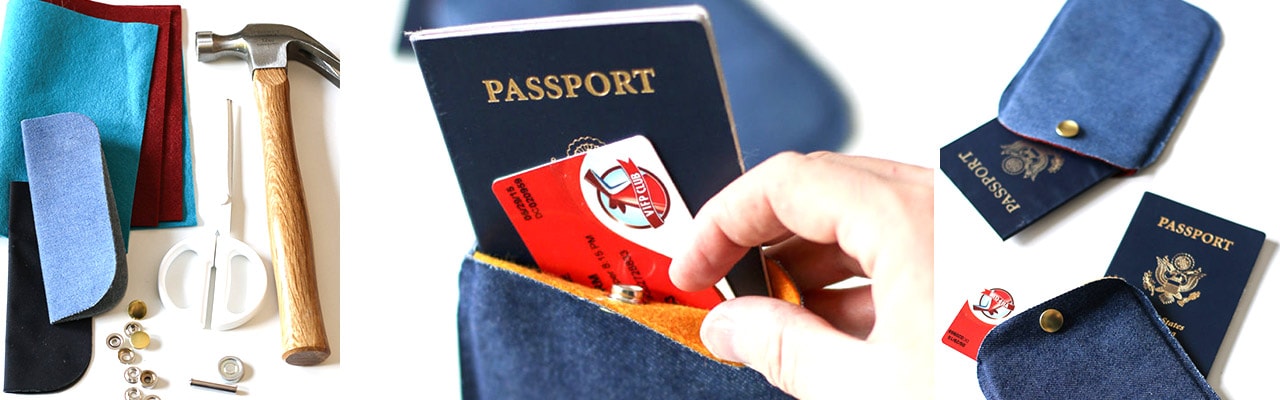
Since I wasn’t in the mood to drag out my sewing machine for this project, I headed to the store to figure out a way to DIY a passport cover without sewing.
Can you tell what I used?
It’s a mend and repair denim patch kit!
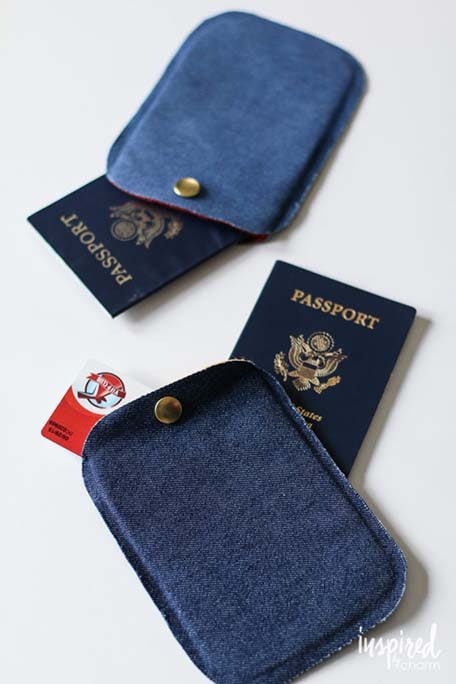
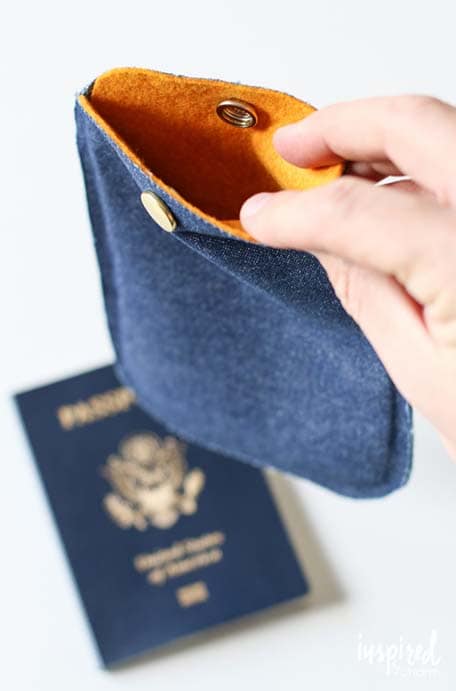
These kits are available in a variety of denim colors, and they include a couple patches that are the right size for a passport cover. With their adhesive backing, the two patches can be ironed together. The colorful felt in between them creates a cozy and safe pocket for a passport.
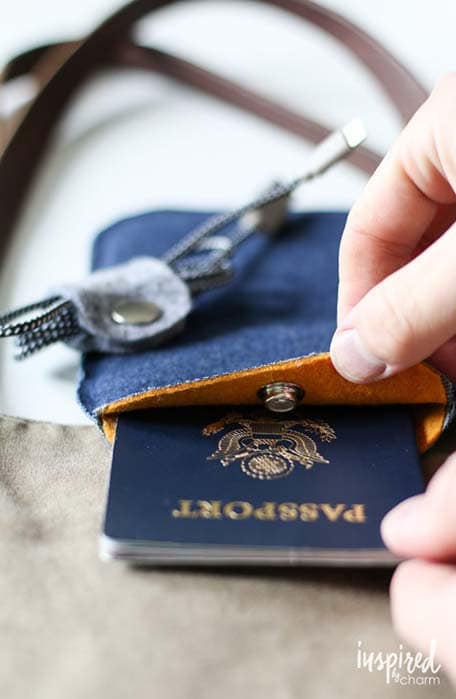
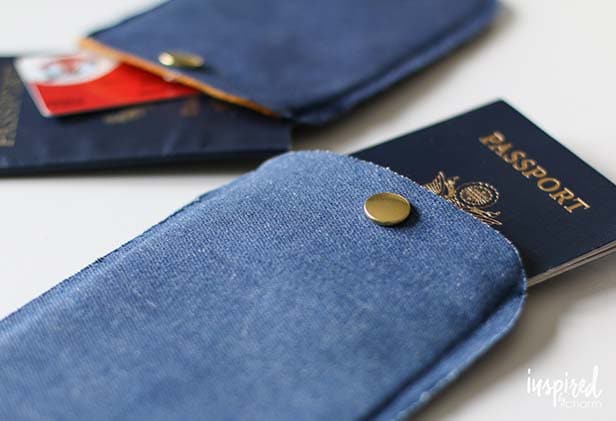
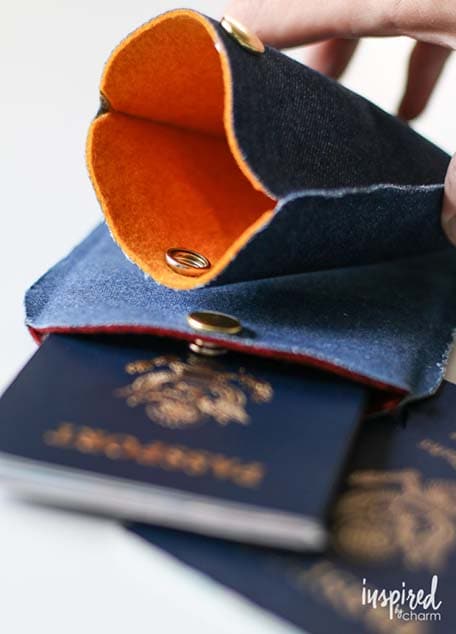
Inspired by the DIY Felt Cable Organizers I made a couple months ago, I decided to add a snap to ensure the passport stayed inside.
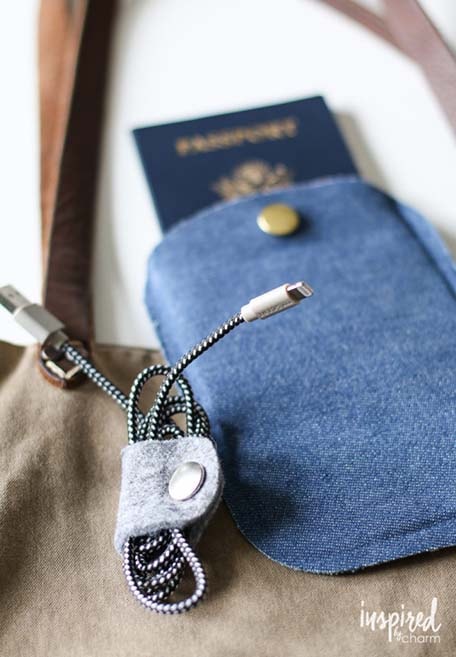
Plus, now I have a little matching set of travel accessories.
In 10 minutes or so, you can whip up one of these passport covers too. Let me walk you through the steps.
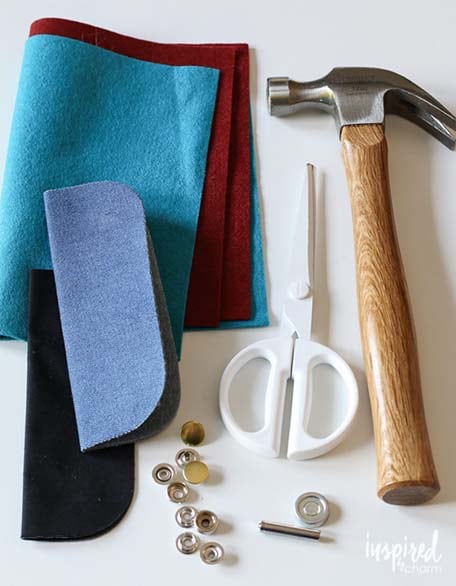
Here’s what you will need:
For this project, make sure you find a mend and repair denim patch kit that includes two large patches backed with iron-on adhesive.
Using one patch as a pattern, trace the shape onto a piece of felt with a felt tip marker. Since you need two of the felt shape, first fold the large piece of felt in half. (This will allow you to cut out both of the shapes at one time.)
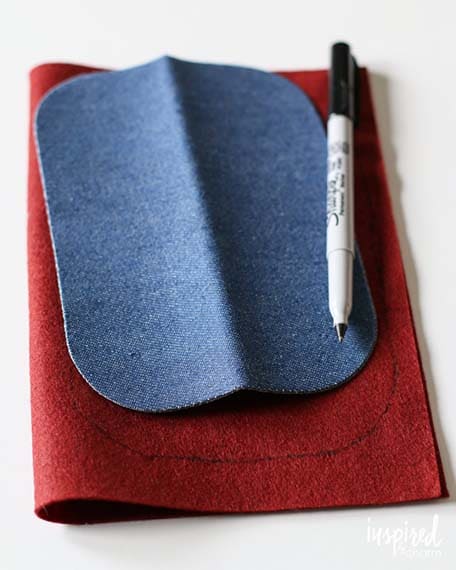
Next, using your passport as a guide, make three marks on the bottom and sides to show where the passport will sit in your pouch. These marks are necessary so you don’t trim off too much when cutting out the felt.

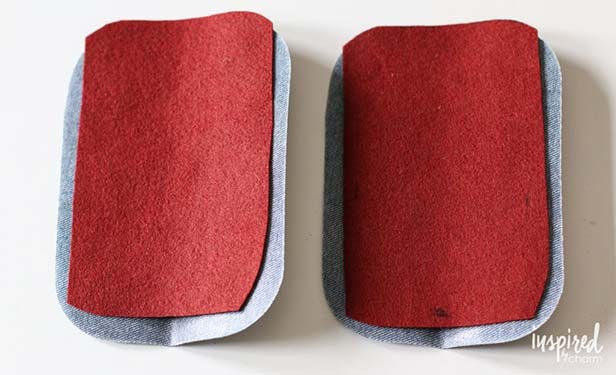
Now you’re ready to cut the felt. The top should be trimmed in line with the pattern you traced. For the sides and the bottom, you’ll want to cut in about a quarter-inch from the line.
As you can see below, doing this allows the adhesive on the sides and bottom of the patches to seal the pouch together. The top will stay open because the felt prevents it from sealing.
Next, you’re ready to iron. Stack the patches so that the two sides with the adhesive are together with the felt in between.
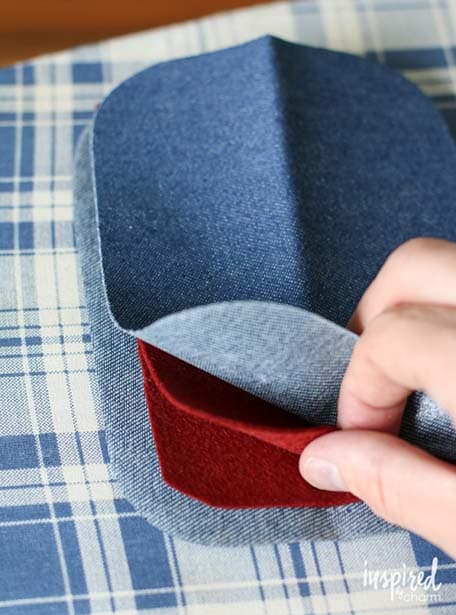
With your iron on the cotton setting (Do not use steam.), iron each area of the cover for 30-45 seconds. Do this on both sides. Pay special attention to the edges to make sure they are bonded.
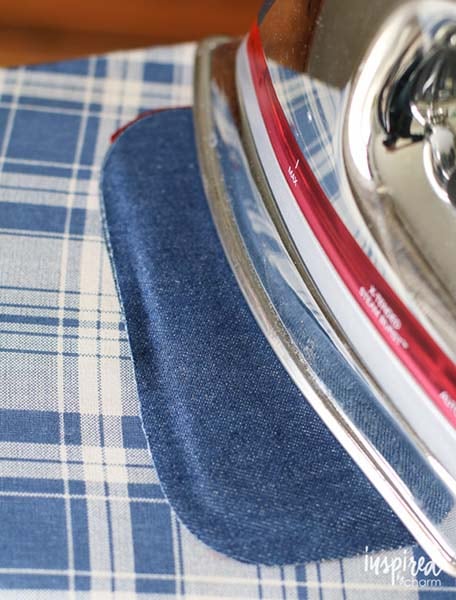
By ironing, you will seal the edges as well as adhere the denim patches to the felt to create a felt pocket.
Next, using a pair of scissors, trim off any overhanging felt or uneven places along the edges of the denim patches.

Finally, attach the snaps. Use a hole punch to create a hole in the same spot on both layers of the material in the center about 1/2-inch down from the top. (I recommend inserting your passport into the pouch to find the best spot so your passport will fit when the snaps are closed.
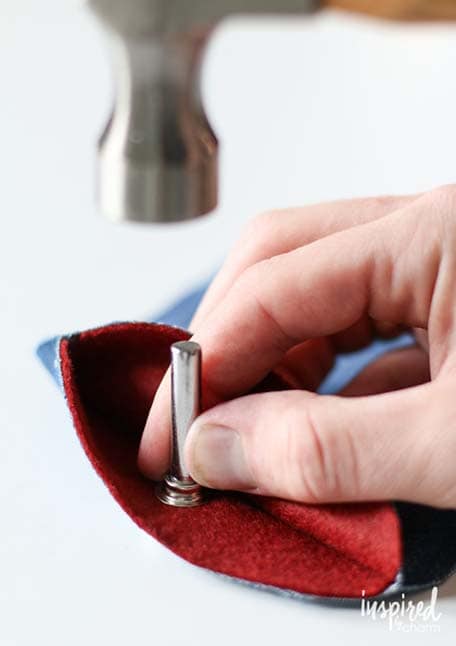
When the holes have been made, you’re ready to attach the snaps. (Make sure your kit includes the tools required to attach the snaps.) Follow the instructions on your particular snap kit. This process is simple; just be sure to attach the snaps the correct way so that they will connect when closing your passport cover.
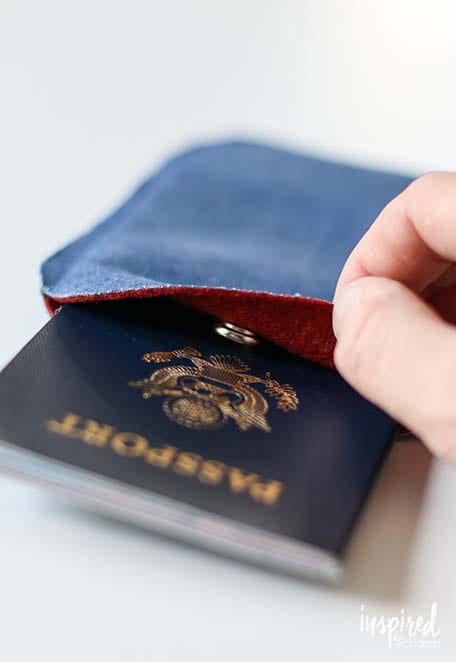
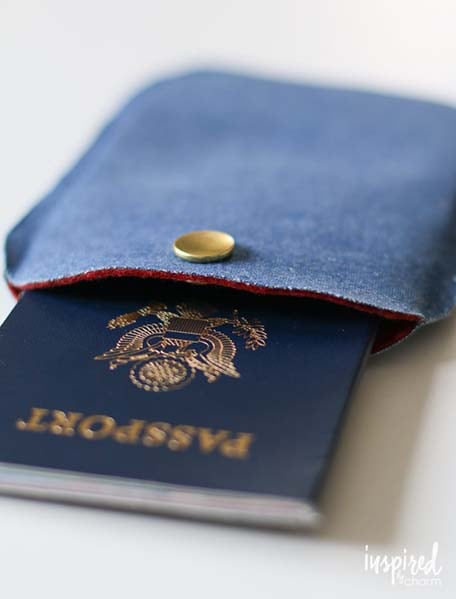
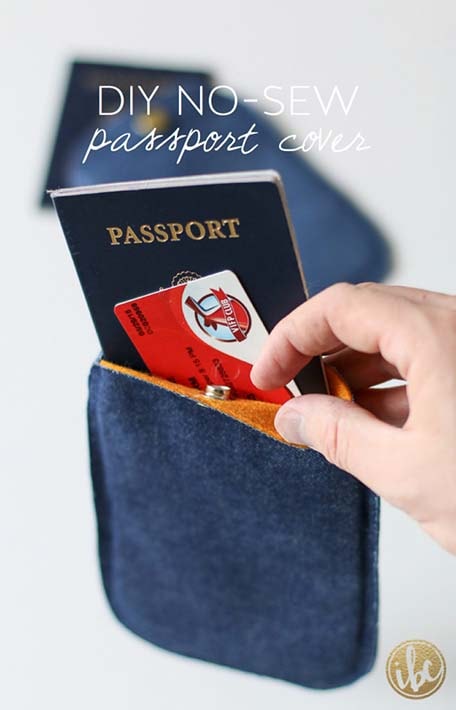
And with that, your DIY No-Sew Passport Cover is complete!
This cover is so cute and practical. Given the variety of colors of denim patches, felt, and snaps that are available today, you can come up with a combination to match your travel gear.
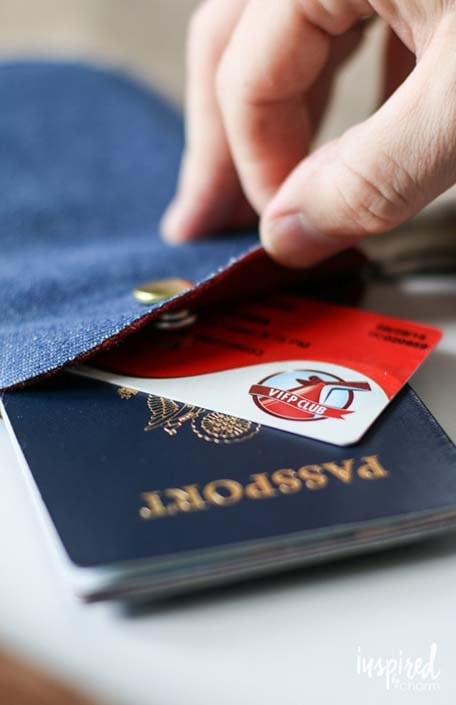
Plus, there’s room in the cover to tuck in other things such as cash, credit cards, or even your Carnival Sign and Sail card. (You will use this card for identification and to make purchases on the ship.) When you go on a Carnival cruise, it’s essential that you carry your passport and Sign and Sail Card with you when you exit the ship at any port of call. Having these items in one place is a great way to stay organized.
I decided to keep my DIY No-Sew Passport Cover plain on the front, but feel free to add accessories and embellishments. You could even dust off that BeDazzler in your closet. Have fun and make the cover your own.
I hope you enjoyed this DIY. Happy traveling!
![]()
By Inspired by Charm
Michael Wurm, Jr. is the interior designer, cook and crafter behind the popular lifestyle blog Inspired by Charm, where you will find imaginative recipes, DIY projects, home décor inspiration and hosting tips and more.
As we wrapped up the first year of homeschooling, I found myself increasingly concerned about the possibility of summer learning ... read more
If there’s one thing we love doing here at Carnival Cruise Line, it’s dreaming up new ways for the world’s ... read more
Best Places to Visit in Alaska While Cruising Juneau Ketchikan Skagway Sitka Icy Strait Point Victoria Although the snowy peaks ... read more
Whether you’re looking for a chill family getaway or a relaxing couples vacation, we’ve got the spots to kick back! ... read more
Ready for an adventure that will literally light up your life? The Northern Lights are a cosmically show-stopping natural wonder ... read more
These natural preserves are a must-see! There is plenty to see when you travel to the Caribbean. Although beaches may ... read more
Canopy Adventure & Wildlife Expedition Bering Sea Crab Fisherman’s Tour Adventure Kart Expedition Tracy Arm Fjord & Glacier Explorer Exclusive ... read more
Top 8 Things to Do in Sitka Jet-Cat Wildlife Quest & Beach Exploration Sea Otter & Wildlife Quest Wilderness Sea ... read more
The 49th State is a wild, untamed natural wonderland just waiting to blow your mind. We’re talkin’ breathtaking ancient glaciers. ... read more
Want to set off on an extended trip you’ll never forget? Head out on a Carnival Journeys getaway! This longer, ... read more
Finding the person you want to spend the rest of your life with is truly one of the most beautiful ... read more